请双击输入内容...


Tel: +86-20-86181657

Email: sales@sunrans.com
Share to:


















- Media News -
Outdoor Hot Tub Installation: Site, Base and Electrical Checklist
Time: 2026-08-21 17:32:33
Author: SUNRANS
Click:
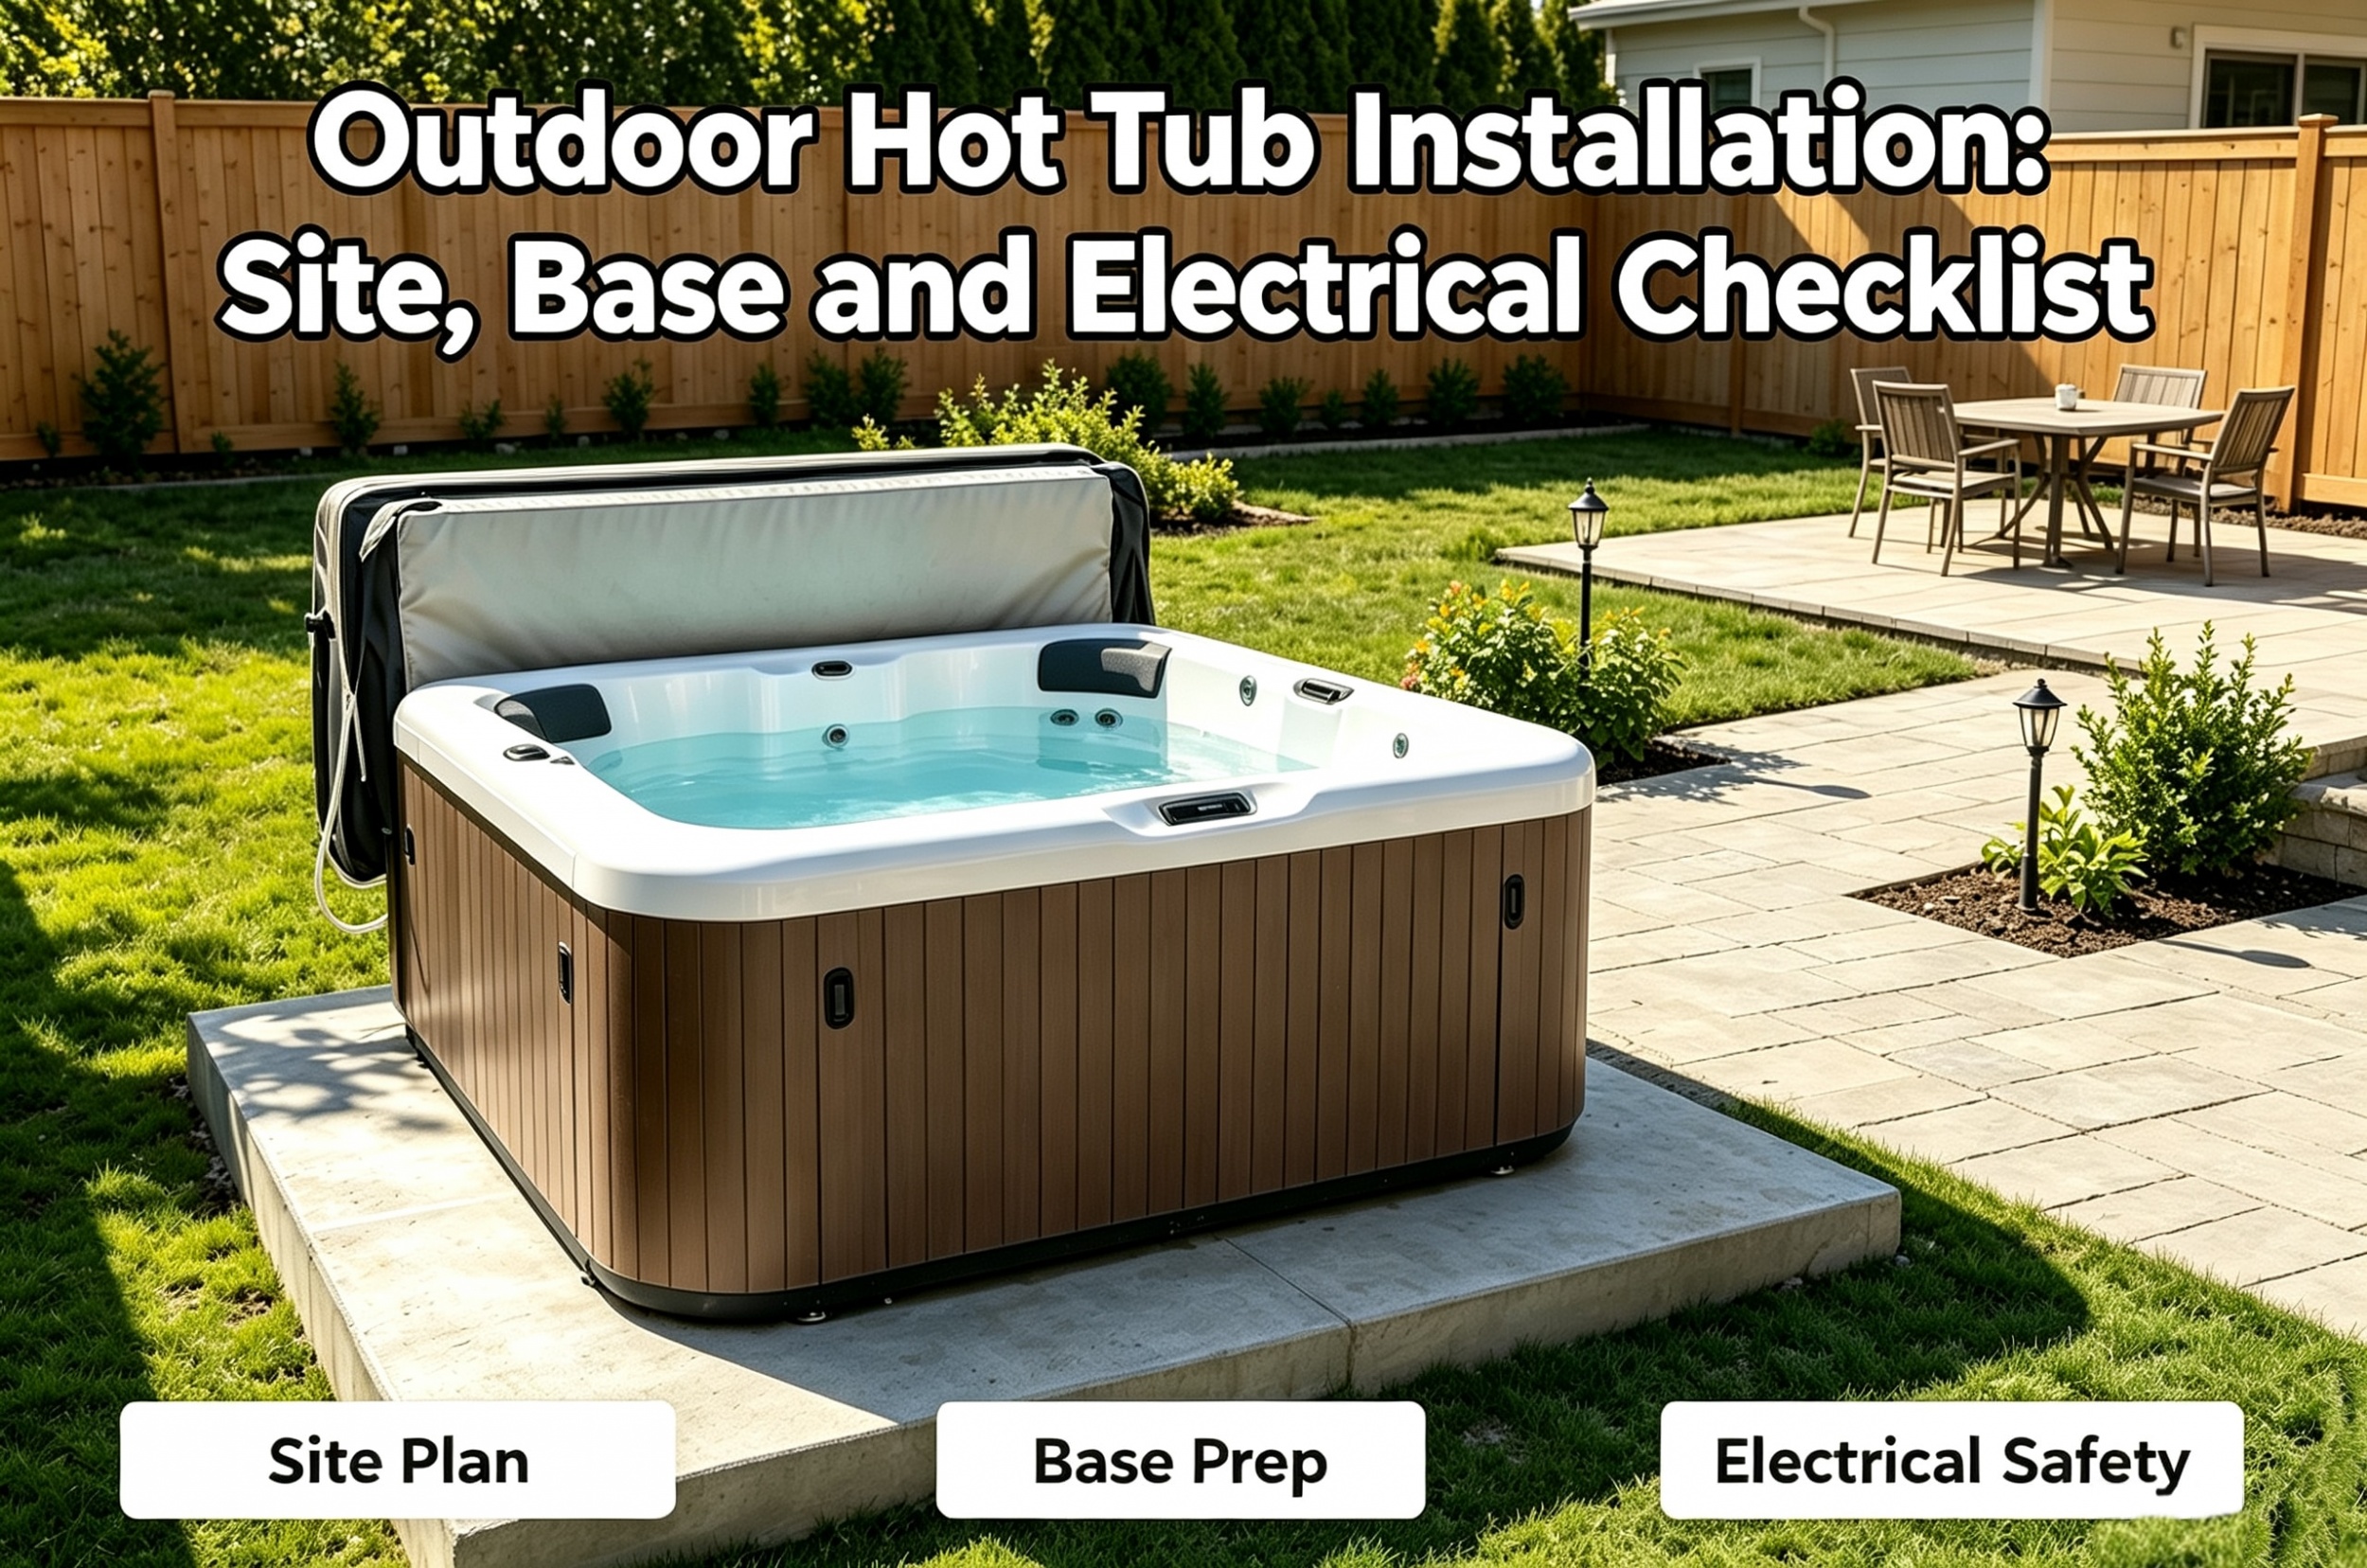
A successful outdoor hot tub installation begins before delivery. Buyers and installers must confirm access, a level load-bearing base, code-compliant electrical supply, drainage, equipment access and climate protection. The manufacturer's model-specific manual and local licensed professionals should control final dimensions, loads, wiring and safety decisions.
Outdoor Hot Tub Installation: Site, Base and Electrical Checklist
Buyer Context and Decision Scope
Installation failures often begin with an incomplete sales handover: the model changes after the base is prepared, the delivery route is not measured, or permanent decking blocks the equipment bay. A dealer can prevent many of these problems by qualifying the site before confirming delivery and by making one approved drawing the reference for the buyer, installer, electrician and logistics team.
This checklist is a planning framework, not a construction or electrical design. Exact dimensions, dry and filled loads, connection points, clearances and commissioning steps must come from the selected model's current documents. Local code and licensed professionals govern structural, electrical and safety decisions. Where information remains open, mark the item as a delivery hold rather than assuming a generic value.
Step 1 - Confirm the Model and Site Plan
Freeze the model, orientation and approved configuration before site work begins. Record external dimensions, dry and filled weight, equipment-bay side, drain location, electrical entry, cover movement and any compatible accessories. For distributors and project buyers, one controlled reference prevents sales drawings, factory drawings and installer notes from describing different configurations. Record the answer against the exact model, destination market and document revision because a family-level statement may not apply to every configuration.
Review privacy, access, views, wind, rain or snow exposure, noise, lighting and the route users will take in wet conditions. Consider how maintenance personnel reach the unit without crossing private guest areas. Ask the supplier to provide a revision-controlled plan and elevation, current manual, equipment-bay image and signed site-plan overlay. Do not release the base or utilities for construction until the product and drawing revision are confirmed. Where suppliers use different terms, translate each response into the same scorecard field and keep assumptions visible for the technical reviewer.
Step 2 - Check Delivery and Lifting Access
Measure the complete path from the vehicle position to final placement. Include gate and door widths, turns, slopes, steps, soft ground, overhead cables, eaves, trees and the space required to rotate or lower the packed unit. For distributors and project buyers, delivery planning affects carrier selection, lifting equipment, labor, insurance and the risk of cabinet or shell damage. Record the answer against the exact model, destination market and document revision because a family-level statement may not apply to every configuration.
Evaluate pallet handling, forklift, crane or specialist spa-moving options with the local team. Packed dimensions and weight, not the installed footprint alone, must be checked against the route and lifting plan. Ask the supplier to provide site photos, a dimensioned route sketch, packed data, lifting points or handling guidance and written responsibility for permits and traffic control. If any route dimension or lifting condition is uncertain, complete a professional site visit before dispatch. Where suppliers use different terms, translate each response into the same scorecard field and keep assumptions visible for the technical reviewer.
Step 3 - Prepare a Level, Load-Bearing Base
The support surface must be level, stable and capable of carrying the complete operating load without differential movement. Possible solutions include an engineered concrete slab, a structurally verified deck or an approved platform designed for the site. For distributors and project buyers, base performance protects the shell, equipment alignment, drainage and warranty position over the product's operating life. Record the answer against the exact model, destination market and document revision because a family-level statement may not apply to every configuration.
Use the current filled weight and actual support geometry in the structural review. Soil, frost, drainage, existing structures and local building rules may change the design, so a universal slab thickness is not appropriate. Ask the supplier to provide a structural sign-off where required, base dimensions and levels, drainage detail, construction photos and confirmation that the entire footprint is supported. Do not place the unit on pavers, decks or temporary surfaces unless a qualified professional has approved the specific condition. Where suppliers use different terms, translate each response into the same scorecard field and keep assumptions visible for the technical reviewer.
Step 4 - Plan Electrical Supply and Safety
Confirm the destination voltage, frequency, rated load and control configuration before order. The final circuit, disconnecting means, protective devices, grounding or bonding and cable route must follow the product manual and local electrical code. For distributors and project buyers, electrical mismatches can delay commissioning, invalidate compliance assumptions and create serious safety risk. Record the answer against the exact model, destination market and document revision because a family-level statement may not apply to every configuration.
Separate the manufacturer's equipment data from the electrician's local design. Locate controls and disconnects for safe operation and service, while keeping water, weather, access and local clearance rules in view. Ask the supplier to provide the model wiring information, rating label, certificate scope, electrician's design or permit record and completed electrical sign-off. Only a qualified licensed electrician should make the final connection; the article must not be used as DIY wiring guidance. Where suppliers use different terms, translate each response into the same scorecard field and keep assumptions visible for the technical reviewer.
Step 5 - Manage Drainage, Water and Enclosures
Plan how the unit will be filled, drained and maintained without allowing water to pool under the base or damage adjacent finishes. Consider the route for routine water changes, filter cleaning and accidental overflow. For distributors and project buyers, water management affects site durability, neighbor relations, environmental compliance and the technician's ability to work cleanly. Record the answer against the exact model, destination market and document revision because a family-level statement may not apply to every configuration.
For gazebos, sunrooms or partially enclosed structures, evaluate humidity, condensation and ventilation as well as roof drainage and snow or wind exposure. Follow local rules for wastewater and chemical handling. Ask the supplier to provide a drainage plan, fill and drain access, enclosure ventilation review and customer water-care handover. A nearby floor drain is not universally required, but every site needs a controlled and lawful water-management method. Where suppliers use different terms, translate each response into the same scorecard field and keep assumptions visible for the technical reviewer.
Step 6 - Preserve Service Clearance
Pumps, controls, heater, unions, valves, filters and plumbing must remain accessible after landscaping and decking are complete. Recessed or built-in installations require removable panels or hatches sized for actual component replacement. For distributors and project buyers, good access shortens diagnosis, reduces labor and avoids destructive removal of premium finishes. Record the answer against the exact model, destination market and document revision because a family-level statement may not apply to every configuration.
Mark the primary equipment bay and all removable cabinet panels on the site drawing. If a compatible heat pump or other option is selected, reserve the required plumbing, power, airflow and service space from its approved manual. Ask the supplier to provide a top-view access drawing, photographs before finishes close, removable-panel detail and installer acceptance of the maintenance route. Do not accept a visually clean design that prevents a technician from removing the largest service component. Where suppliers use different terms, translate each response into the same scorecard field and keep assumptions visible for the technical reviewer.
Step 7 - Commission and Hand Over
Commissioning normally includes controlled filling, visual leak checks, approved power-up, control and pump tests, filtration and sanitizer setup, and confirmation that protective and operating functions behave as described in the manual. For distributors and project buyers, a documented handover establishes the condition of the product, trains the owner and creates a baseline for future support. Record the answer against the exact model, destination market and document revision because a family-level statement may not apply to every configuration.
Explain controls, cover use, filters, water care, freeze protection, routine inspection and emergency contacts. Record serial number, installed options, installer names and any deviations or open actions. Ask the supplier to provide a signed commissioning checklist, installation photos, serial record, water-care record and customer acknowledgement. Do not leave the site with unresolved leaks, alarms, access restrictions or unclear owner responsibilities. Where suppliers use different terms, translate each response into the same scorecard field and keep assumptions visible for the technical reviewer.
B2B Comparison Matrix
Use the matrix below to normalize supplier and model responses. Every row should be linked to a current document, test or responsible reviewer rather than accepted as an unsupported catalog claim.
Stage | Release condition | Responsible evidence | Common hold point |
Model/site | Approved model, orientation and drawing revision | Plan/elevation, site overlay and signed selection | Model or equipment-bay side still changing |
Delivery | Measured route and confirmed handling method | Photos, route sketch, packed dimensions and lift plan | Gate, overhead obstacle or crane permit unknown |
Base | Level support designed for verified operating load | Structural review, levels and construction photos | Generic slab or unverified existing deck |
Electrical | Local design matches product rating and manual | Wiring data, permit/sign-off and rating label | Voltage, protection or cable route unresolved |
Handover | Functions tested and owner trained | Commissioning record, serial number and photos | Leak, alarm, blocked access or missing manual |
Pre-Delivery Site Survey
Mark each item as verified, conditional or open. Record the evidence source, revision and person responsible for closure.
1. Confirm model, drawing revision, orientation, equipment-bay side and selected options.
2. Measure packed delivery route, turns, slopes, overhead limits and final placement area.
3. Verify support design using current dry/filled load and local structural conditions.
4. Have a licensed electrician plan the exact supply, protection, connection and sign-off.
5. Document drainage, fill route, enclosure ventilation, climate exposure and service access.
6. Schedule commissioning, owner training, serial recording and final photo evidence.
Final Recommendation
A reliable outdoor hot tub installation is a controlled handoff between sales, logistics, site trades and service. Freeze the model, use one approved drawing, place holds on unresolved risks and retain evidence from site survey through commissioning. This discipline protects the customer experience and gives the dealer a defensible support record.
Frequently Asked Questions
What base does an outdoor hot tub need?
It needs a level, stable and fully supported base designed for the verified operating load and local conditions. An engineered slab, verified deck or approved platform may be suitable, but soil, frost, drainage and structure must be reviewed for the specific site.
How much access is needed to deliver a hot tub?
Access must accommodate the packed unit, handling equipment and every turn or lift from vehicle to placement. Use current packed dimensions and weight, then measure gates, slopes, overhead obstacles and rotation space. A crane or specialist mover may be required.
Can a hot tub be installed on a deck?
Yes, when a qualified structural professional verifies the deck for the exact filled load, support geometry, local code and site condition. The design must also preserve drainage, electrical safety and removable service access.
How much service clearance should be left around a hot tub?
Use the model-specific manual and drawing. At minimum, the equipment bay and removable panels must allow diagnosis and component removal. Recessed installations need properly sized removable hatches rather than permanent finishes.
Does a hot tub need a drain nearby?
Not every installation needs a floor drain, but every site needs a controlled method for filling, overflow and lawful draining. Water must not pool under the base or damage the building, landscape or neighboring property.
Who should connect the electrical supply?
A qualified licensed electrician should design and complete the connection according to the current model manual, rating, certificate configuration and local electrical code. The dealer or owner should not rely on generic online wiring instructions

点击右上角
分享给朋友吧







 Long by picture save/share
0

English
- 中文
- English
Share to:  |
|
Copyright© GUANGZHOU SUNRANS SANITARY WARE CO.,LTD
粤ICP备17099389号-2
Contact us
Tel: +86-20-86181657 Email: sales@sunrans.com
Share to
Contact us Tel: +86-020-26231998 Email: sales@sunrans.com Post code: 511300
Copyright © GUANGZHOU SUNRANS SANITARY WARE CO.,LTD 粤ICP备17099389号
