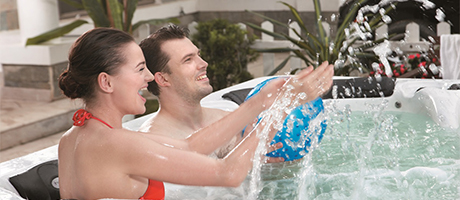
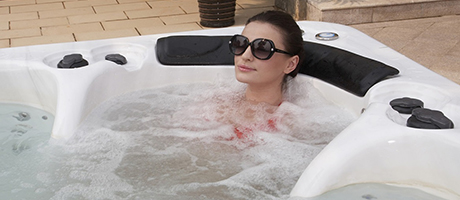
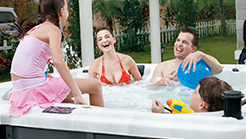
If you’ve decided to purchase a hot tub, soothing hydrotherapy, relaxation, and social time unwinding with friends or loved ones awaits. But first, you’ll have to have your hot tub installed. In this article, you’ll discover how to install a hot tub.
1. Preparing for Installation
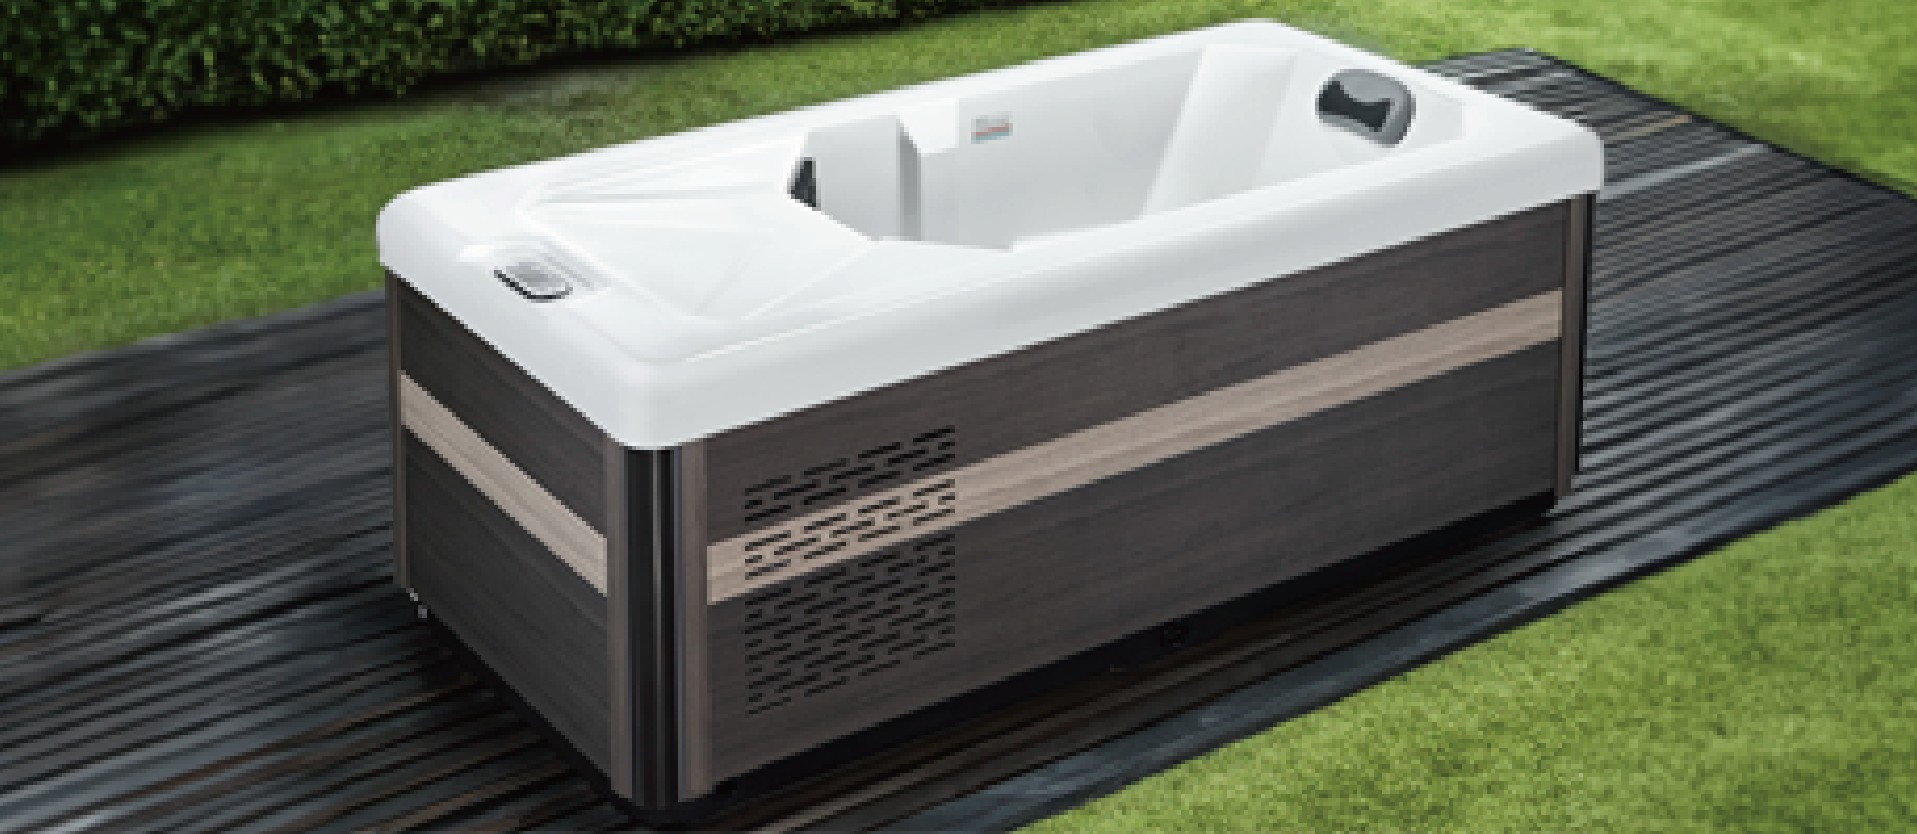
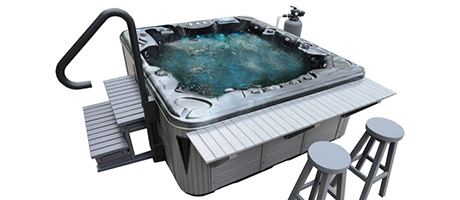
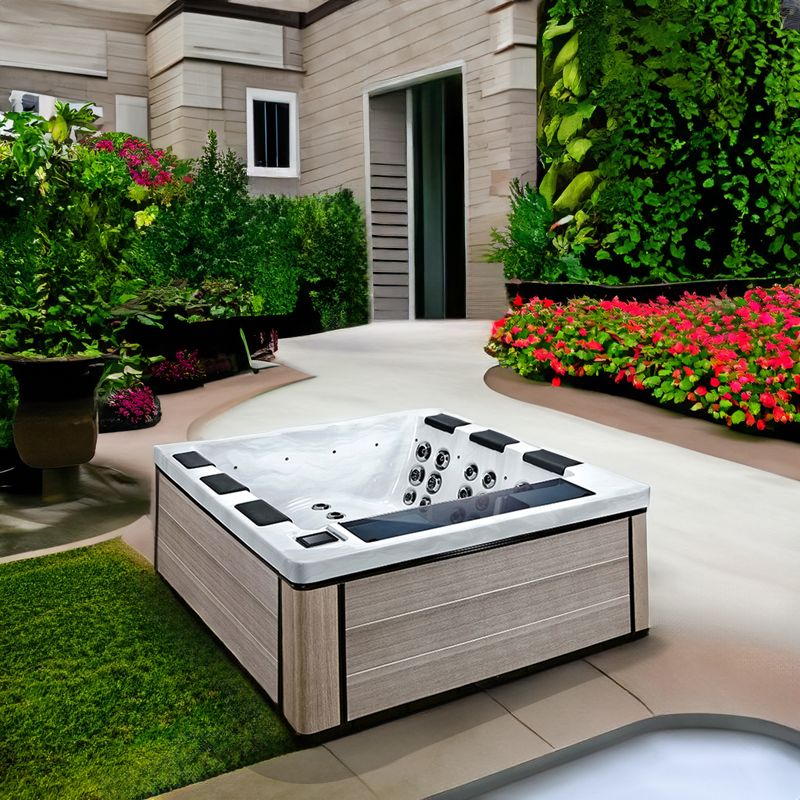
Before starting the installation process for your outdoor hot tub, like the SR8116B model, there are a few important preparatory steps to take:
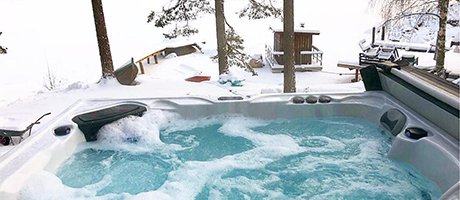
- Choose the Right Location: The installation area should be solid and level. Ideal surfaces include concrete slabs, wooden decks, or pavers. Ensure there’s ample space around the tub for maintenance and easy access to the control panel. Keep it close to electrical and water sources for convenience.
- Electricity Check: Verify that your outdoor space has the necessary power supply. The SR8116B model requires a 220V/50HZ power source with a separate circuit to ensure safety. It’s highly recommended to have a certified electrician handle this part to avoid any risks.
- Water Supply and Drainage: Ensure easy access to a water source for filling the tub and plan for an effective drainage solution.
2. Required Tools for Installation
To install your hot tub, you'll need the following tools on hand:
- Wrench or screwdriver
- Level
- Waterproof sealant
- Pipe fittings for water connections
3. Step-by-Step Installation Process
Step 1: Inspect the Hot Tub and Components
Carefully unpack the hot tub and all its components, including the SR8116B’s 46 stainless steel massage jets, water pumps, control panel, and filtration system. Inspect all parts for any signs of damage.
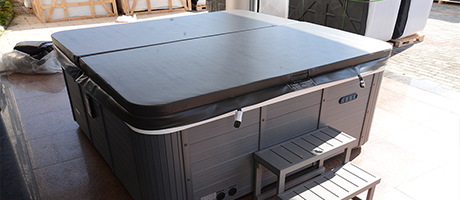
Step 2: Position the Hot Tub
Move the hot tub to your prepared area. Use a level to ensure it is balanced and stable. If you're placing the tub on a deck or other elevated surface, ensure the structure can handle the tub’s weight, which includes water and occupants.
Step 3: Electrical Connection
The SR8116B uses two 2.0HP pumps and a 0.5HP circulation pump to power its 46 jets. Have an electrician handle the electrical setup, including the GFCI (Ground Fault Circuit Interrupter) installation for safety. The U.S. control system and touch panel make it easy to manage settings.
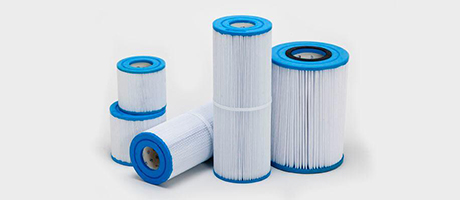
Step 4: Water Pump and Filtration System
Install the 2 filters and attach the filtration system, which uses a 100 sq. ft. filter area to keep your hot tub water clean and clear. Connect the water pumps securely, ensuring no leakage points.
Step 5: Fill the Hot Tub with Water
Using a hose, fill the tub until the water covers all the jets. Be mindful not to overfill the tub to avoid overflow when in use.
Step 6: Test the Jets and Control System
Power on the hot tub and check the control panel. Test the jets and circulation pumps to ensure everything works properly. Adjust the 46 stainless steel massage jets to your liking and make sure all areas are functional.
4. Safety Precautions
- Always turn off the power when servicing the hot tub or its components.
- Keep the electrical connections dry.
- Regularly test the GFCI to ensure it works correctly.
5. Maintenance Tips
To keep your hot tub running smoothly:
- Clean the filters regularly.
- Use water testing kits to maintain the proper chemical balance.
- Schedule professional maintenance once or twice a year for more in-depth checks
Conclusion
Installing an outdoor hot tub like the SR8116B model in your backyard is an excellent way to create a relaxation haven. By following these step-by-step instructions, you can safely and efficiently install the hot tub yourself or supervise a professional installation. With proper care and maintenance, your hot tub will provide you with years of comfort and enjoyment.


 Long by picture save/share

 |
| 